Table of Contents
- Introduction
- Assemble the Parts
- Configure the Radio
- Wire up the Circuit
- Use it!
1) Introduction
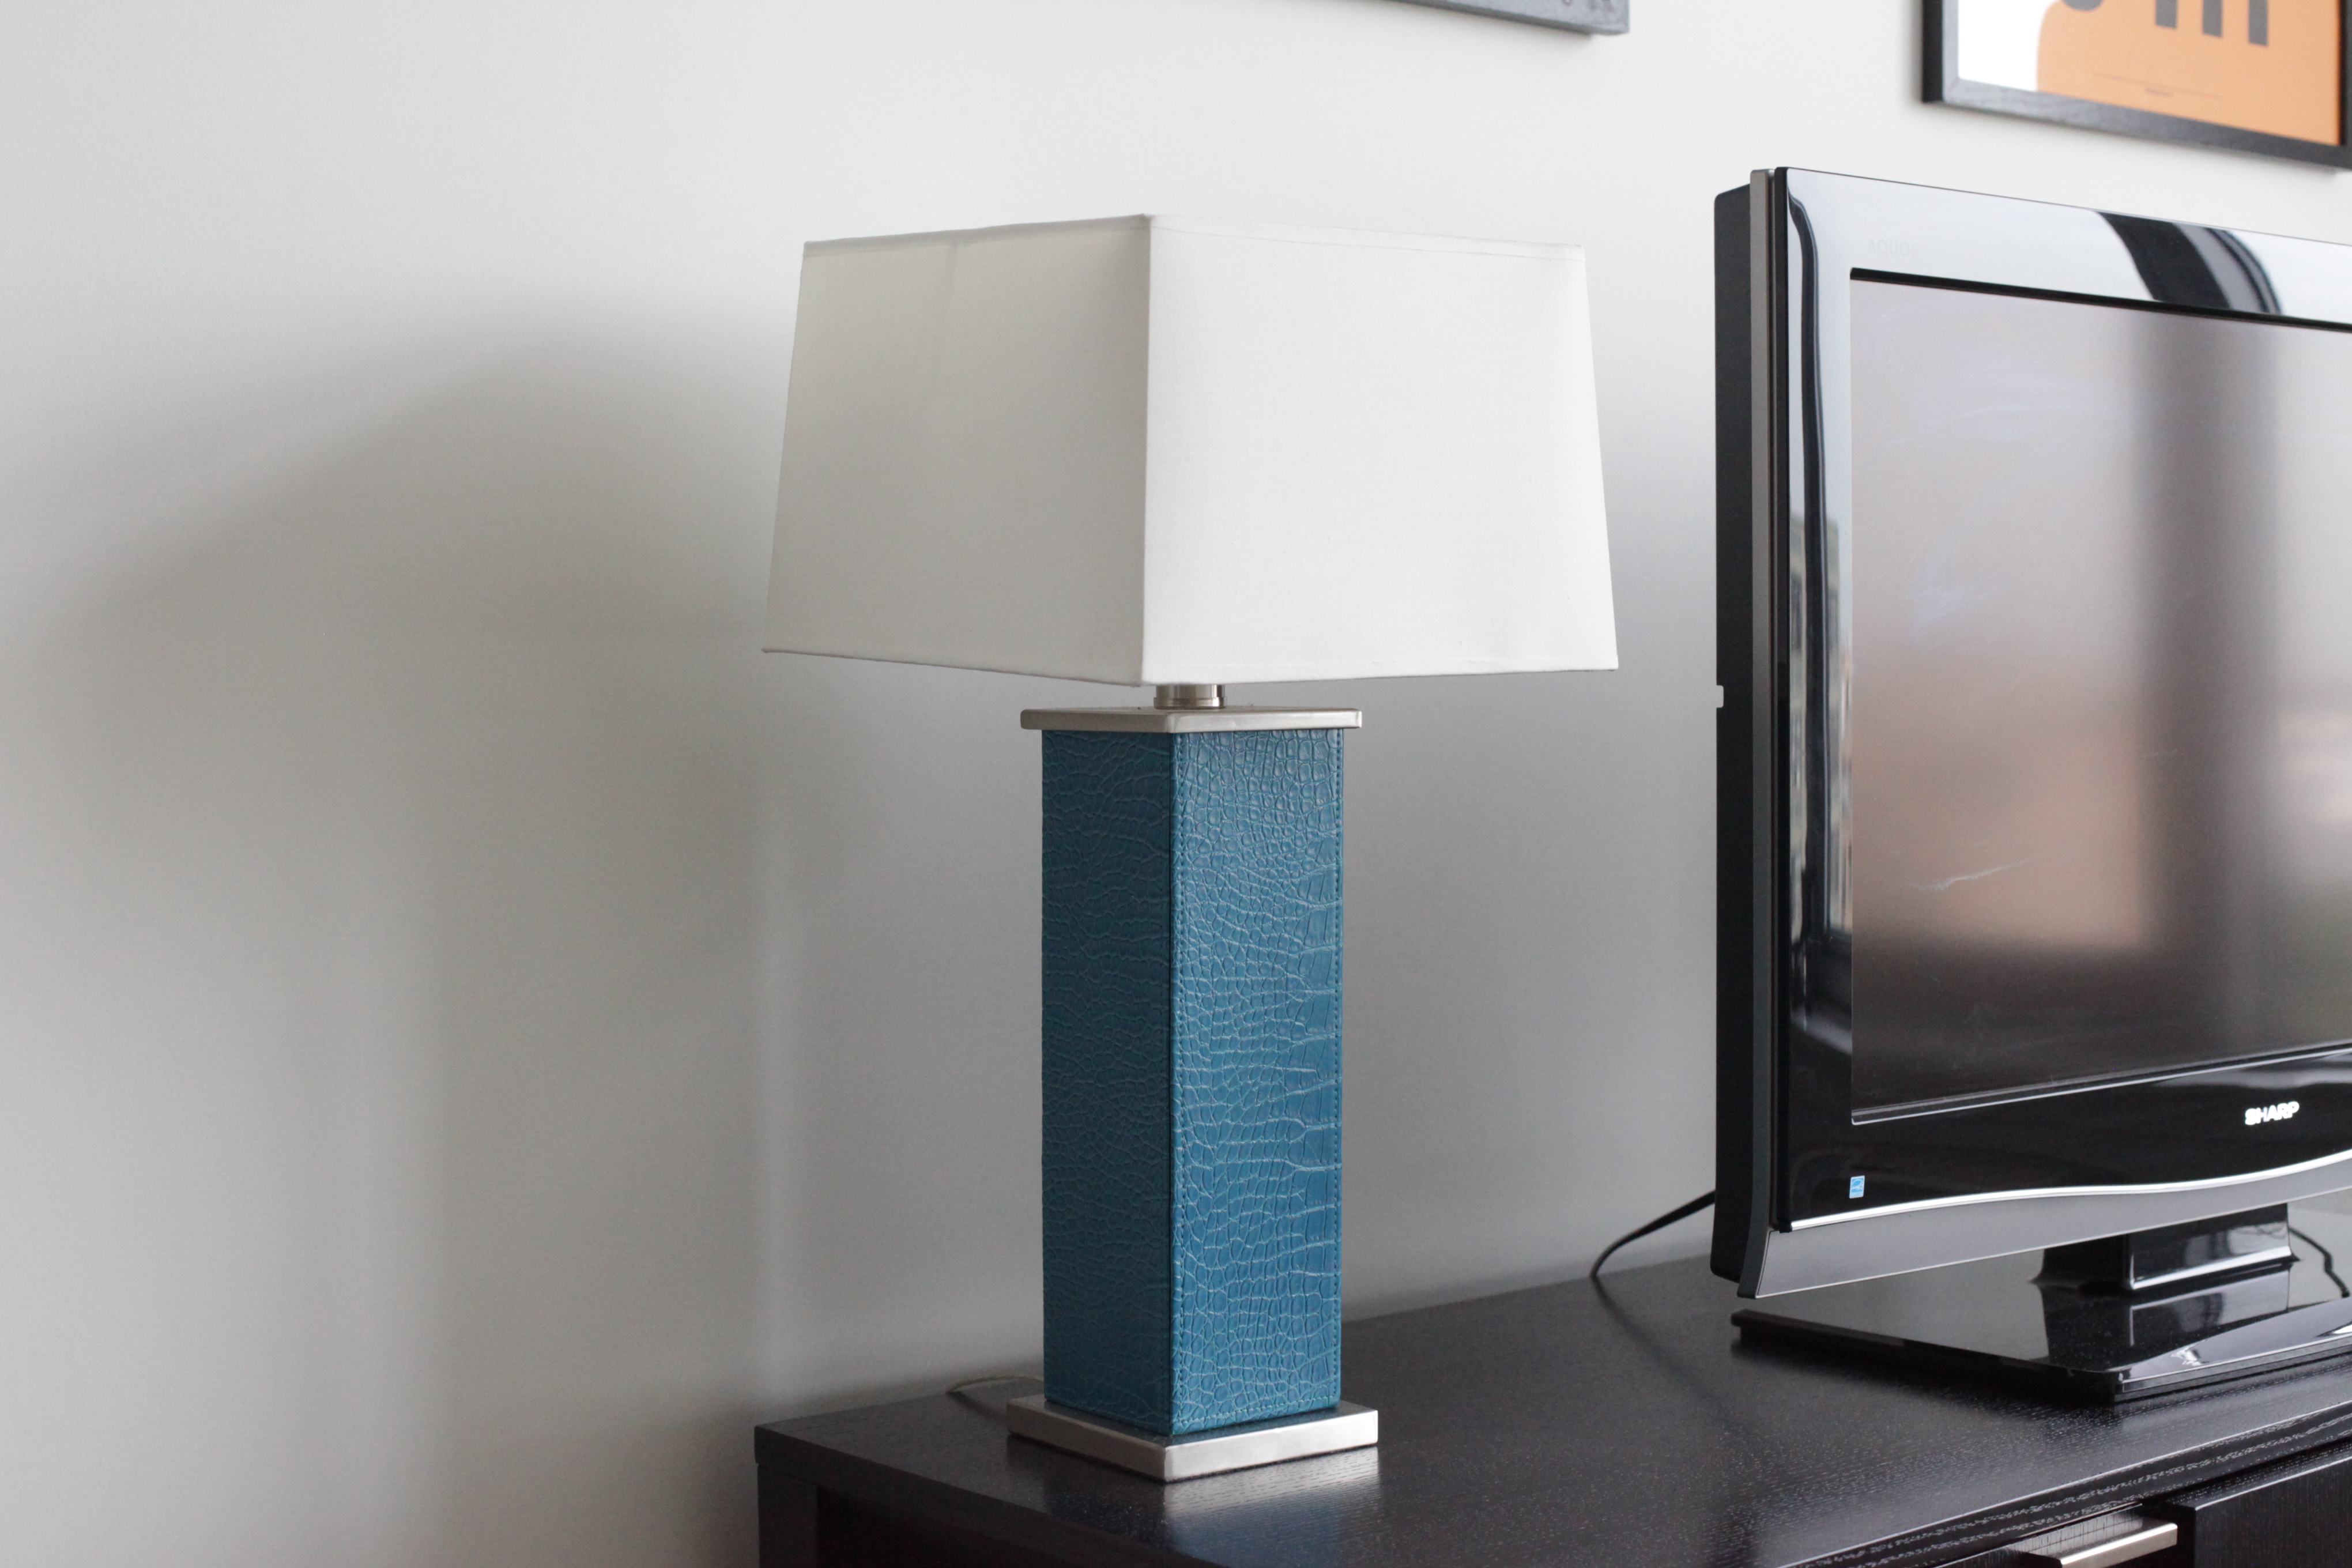
Hobby electronics projects usually work at low voltages and with direct current. But what if you want to control your lamps, TVs, or blenders, which operate at higher voltage with alternating current? Situations like this call for a relay, which let you use low current to open and close circuits on high voltage devices. Using the 3.3 volt digital output of the XBee connected to a relay, we can wirelessly control high voltage AC devices.
Since dealing with high voltage electricity can be dangerous, we're going to stick to using the PowerSwitch Tail, a product that packages up the relay circuitry in a nice little box that we can plug into the wall. Any device that we plug into the other end will be at our command. This guide will get you started with using the PowerSwitch Tail with an XBee.
2) Assemble the Parts
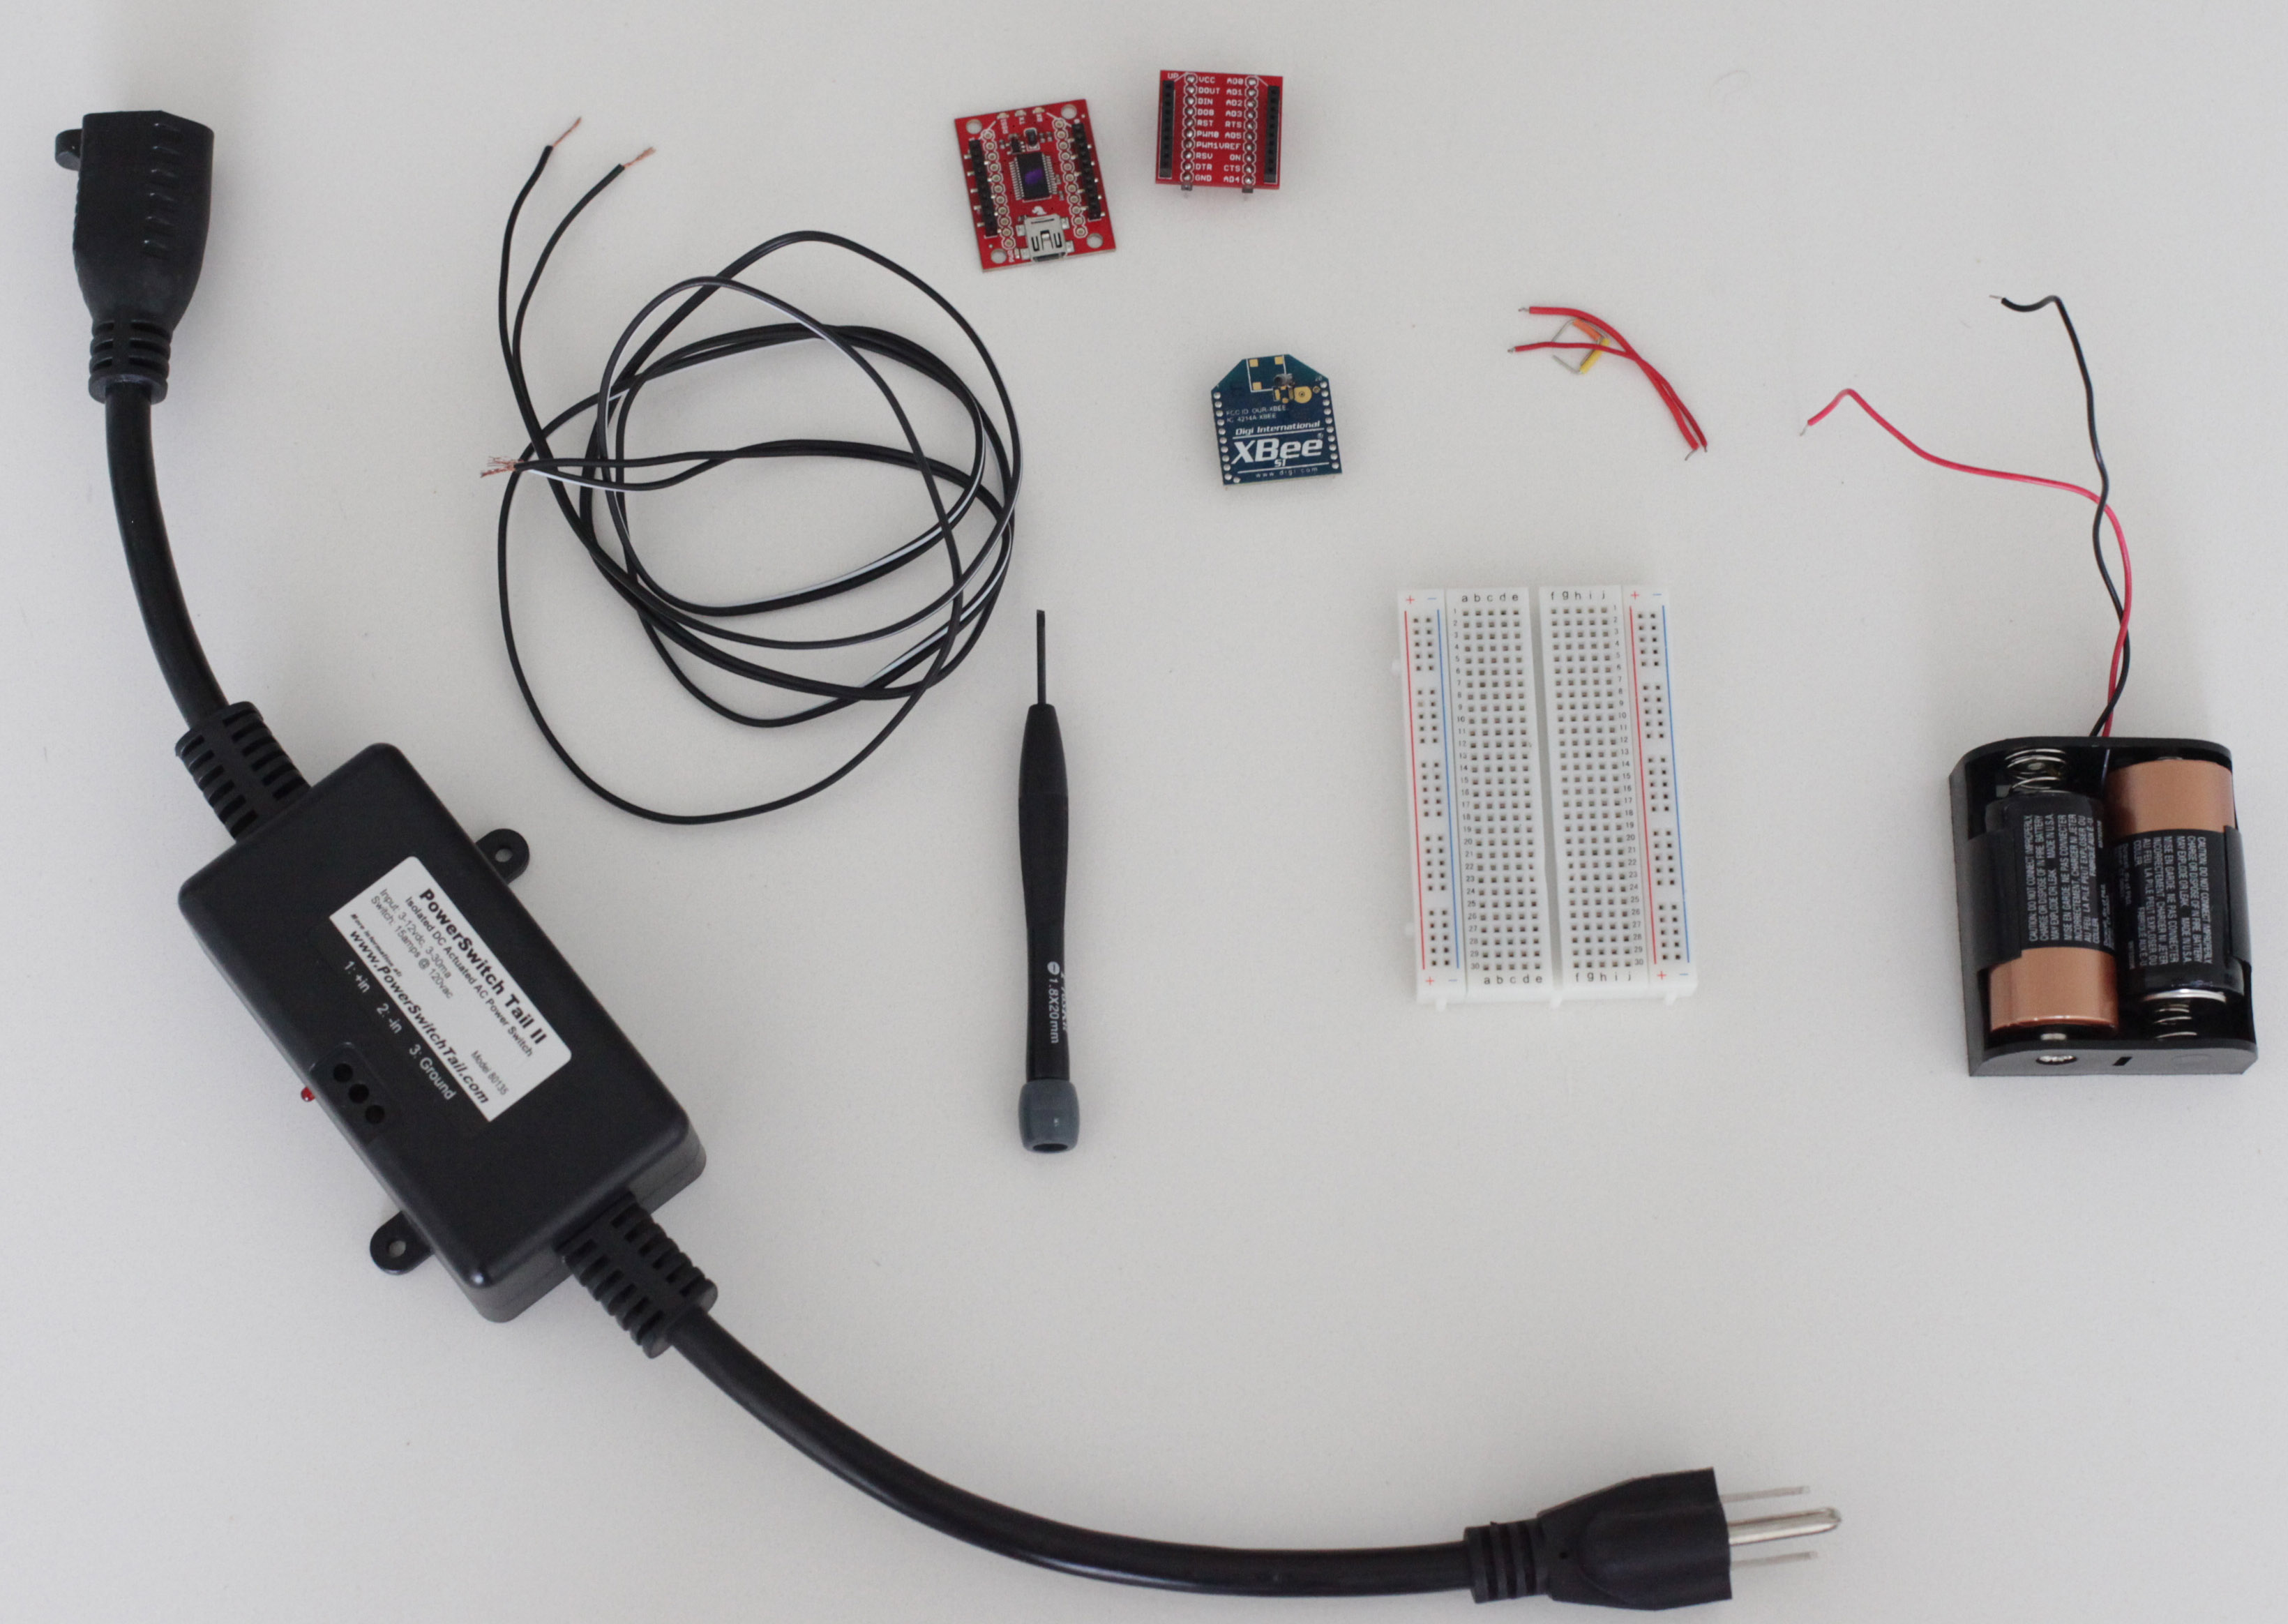
To control a high voltage AC device with an XBee, you'll need:
- XBee 802.15.4 Radio
- PowerSwitch Tail II - You can use the previous version if it's all you have, but it will require more circuitry to actuate the relay.
- Hookup wire - We'll be using a spool of two conductor wire to connect the PowerSwitch Tail to our circuit.
- Small, flat-head screwdriver
- Breadboard
- Jumper cables
- XBee Breakout Board - for your circuit.
- XBee Explorer USB - for programming your radio.
- A DC power source, 2.8 - 3.3V - We'll be using two C batteries in a battery holder from Radio Shack.
4) Wire up the Circuit
- Place the XBee adapter into the breadboard and wire up the power buses to each other.
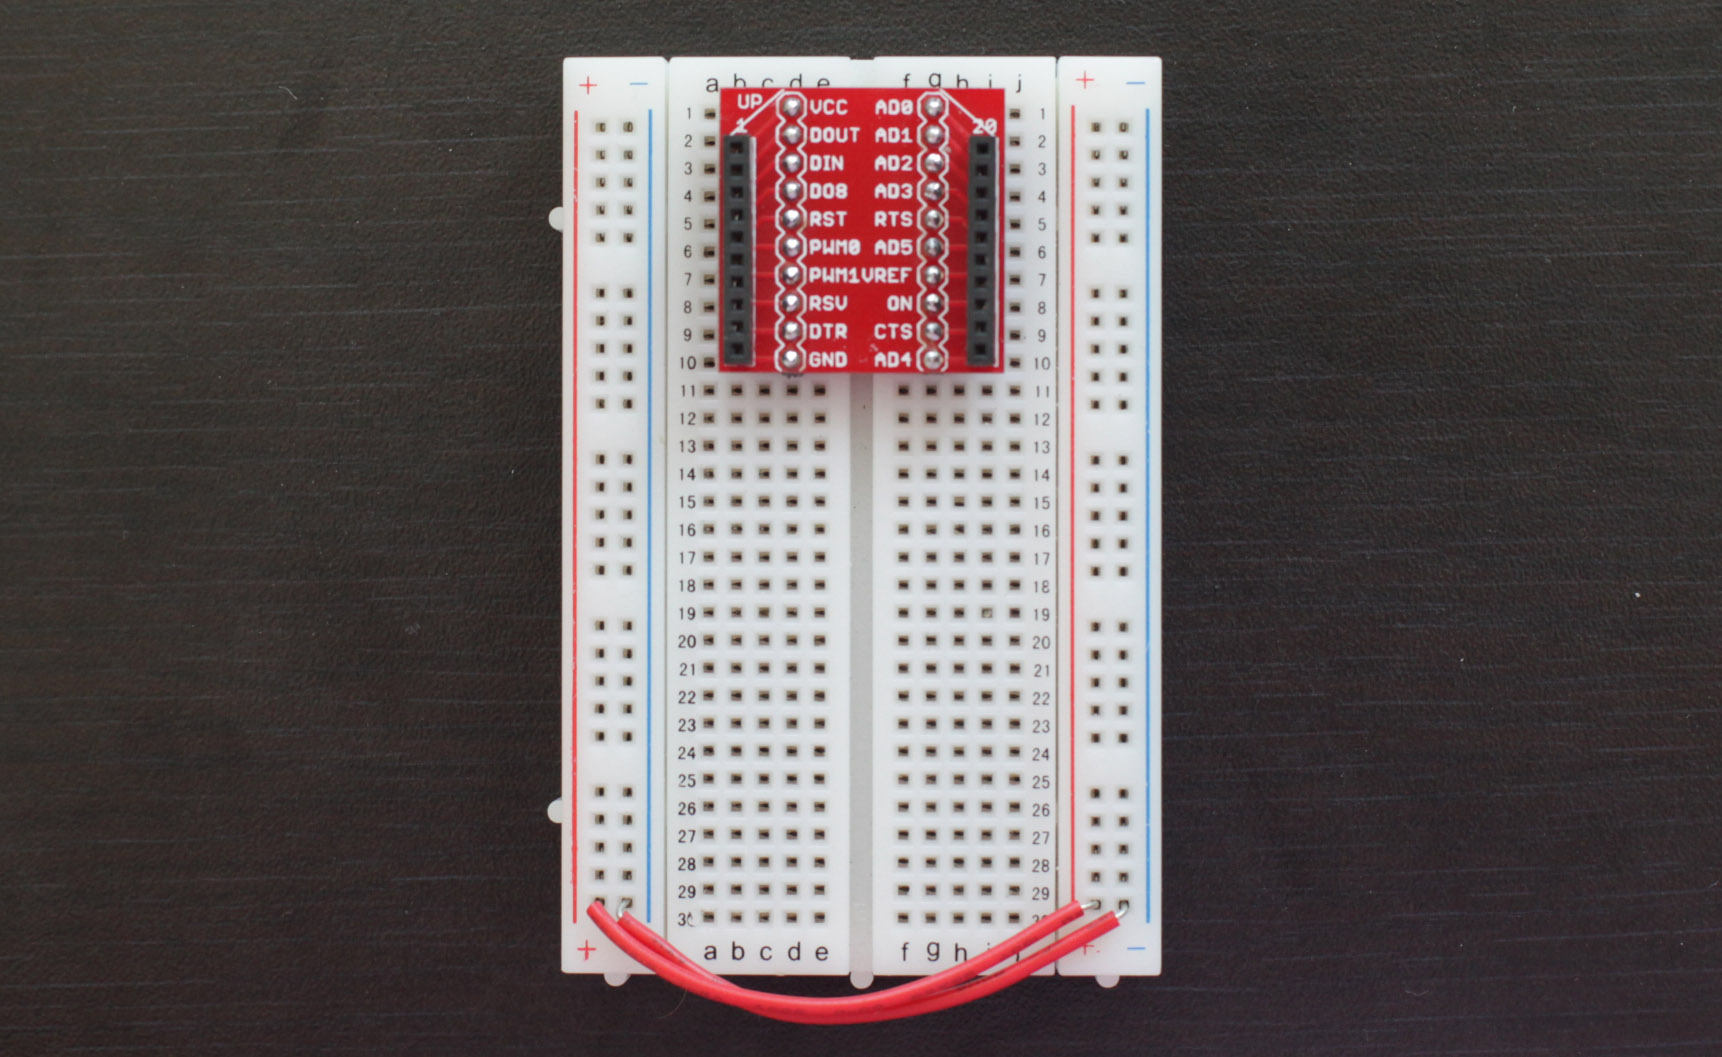
- Connect the VCC terminal of the XBee adapter to the positive rail and the ground terminal to the negative rail.
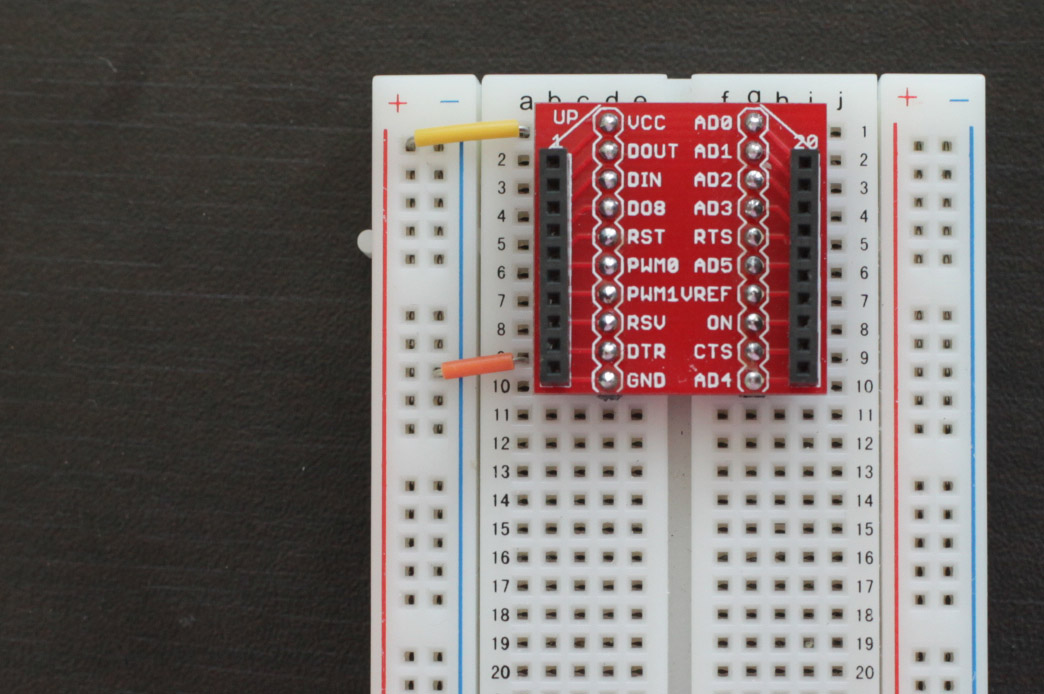
- Connect one of the of the hookup wires to I/O pin 0, which is physical pin 20, on the top right side of the XBee. A second strand of wire gets connected to the ground bus.

- Use the wire from the the XBee's I/O pin 0 to connect it to the terminal marked "+in" on the PowerSwitch Tail. You'll need to use a small, flat-head screwdriver to loosen the screw terminal inside the PowerSwitch tail and to tighten it onto the wire. The wire from the breadboard's ground bus gets connected to "-in" on the PowerSwitch tail.
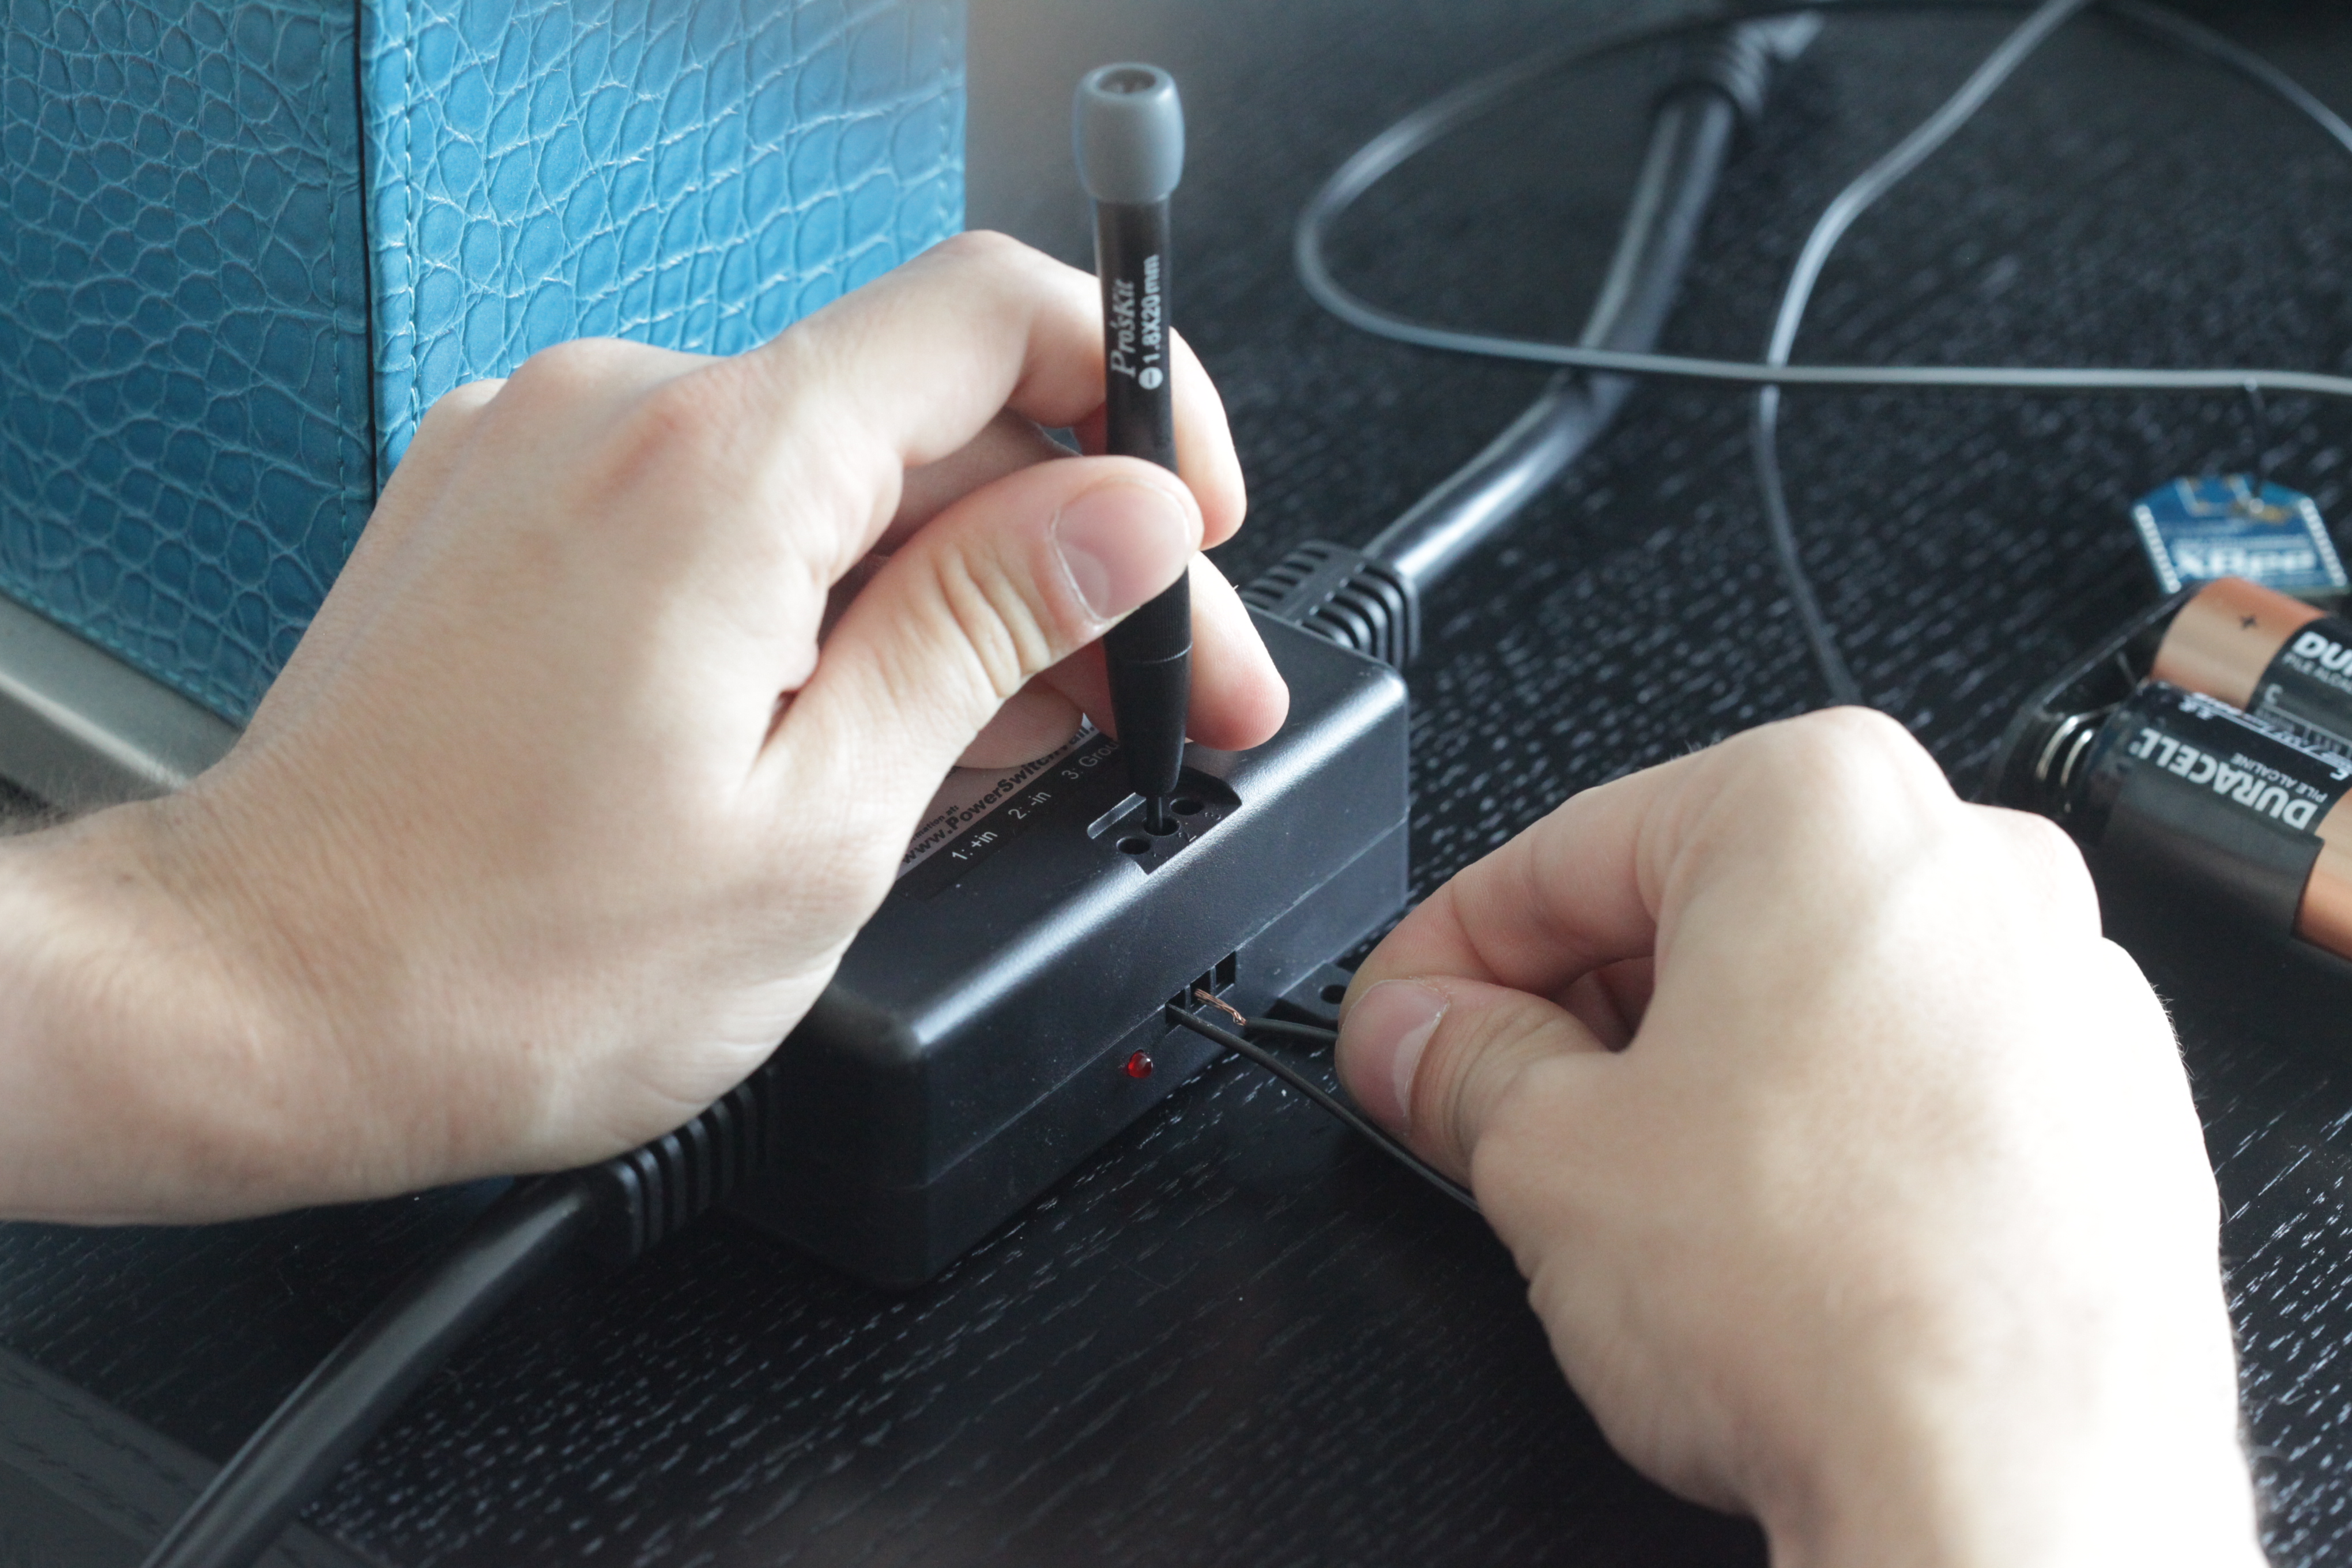
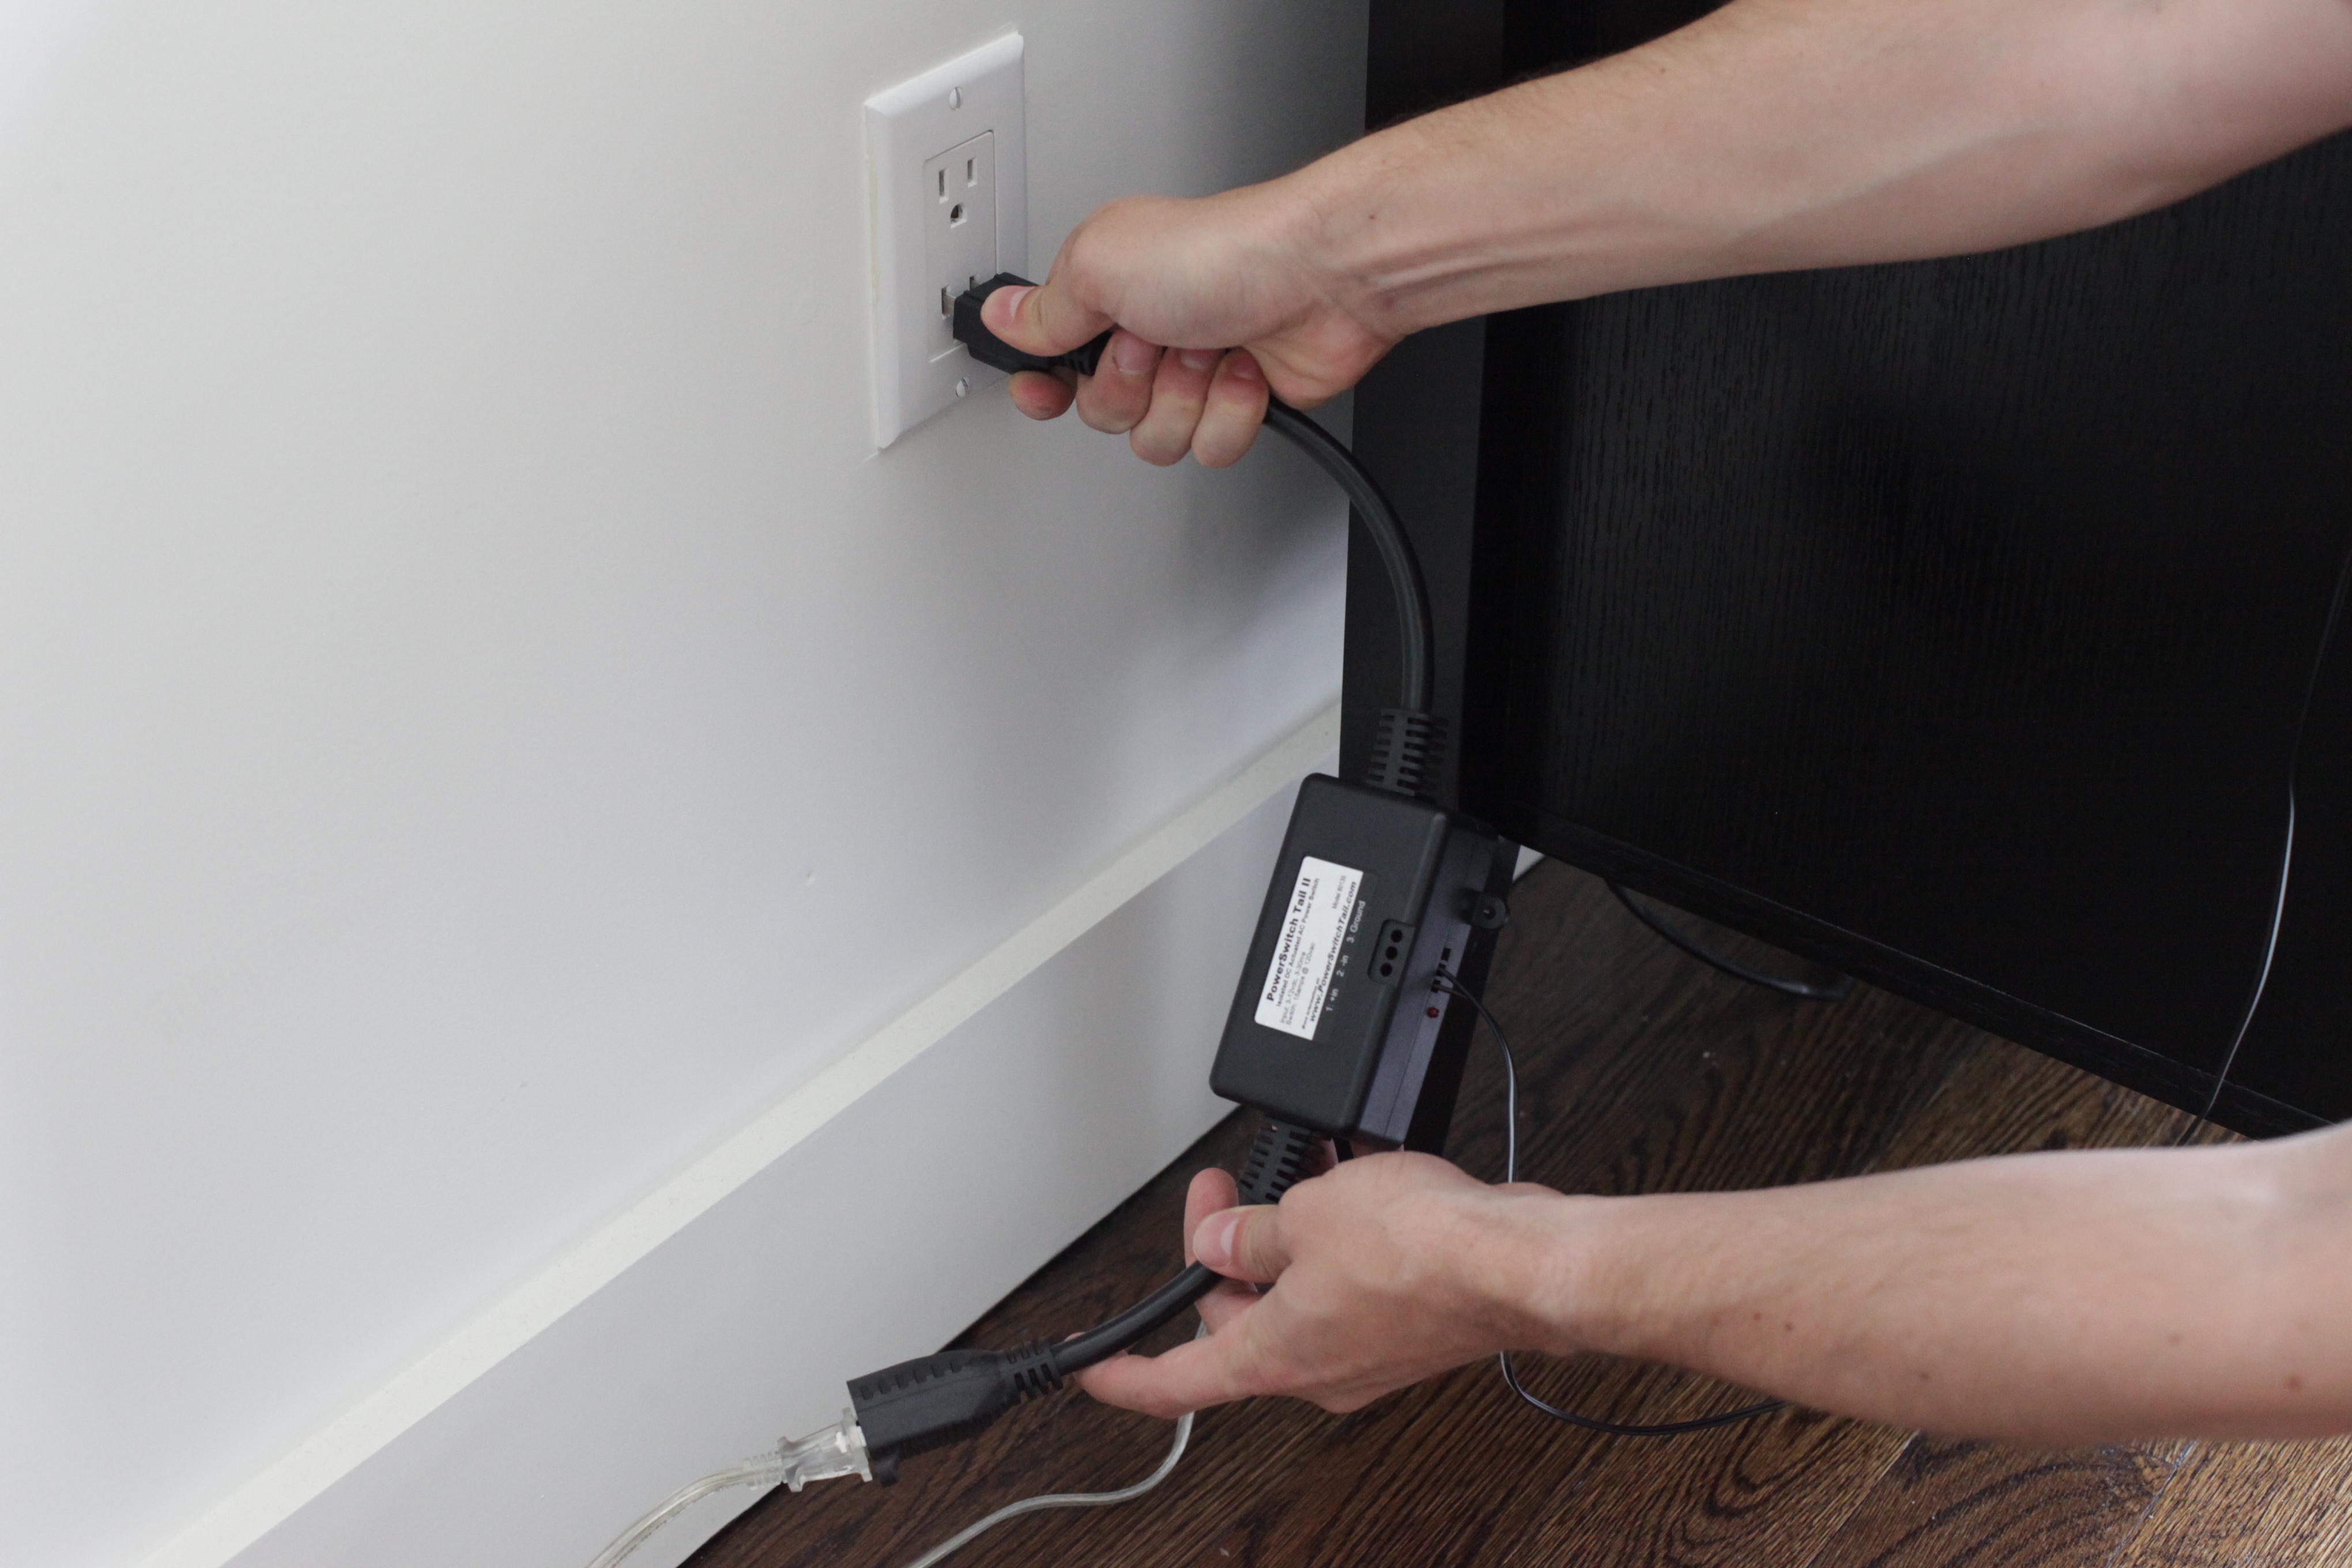
- Plug your AC device into the PowerSwitch Tail and plug the PowerSwitch Tail into the wall. Make sure the switch on your device is switched on.
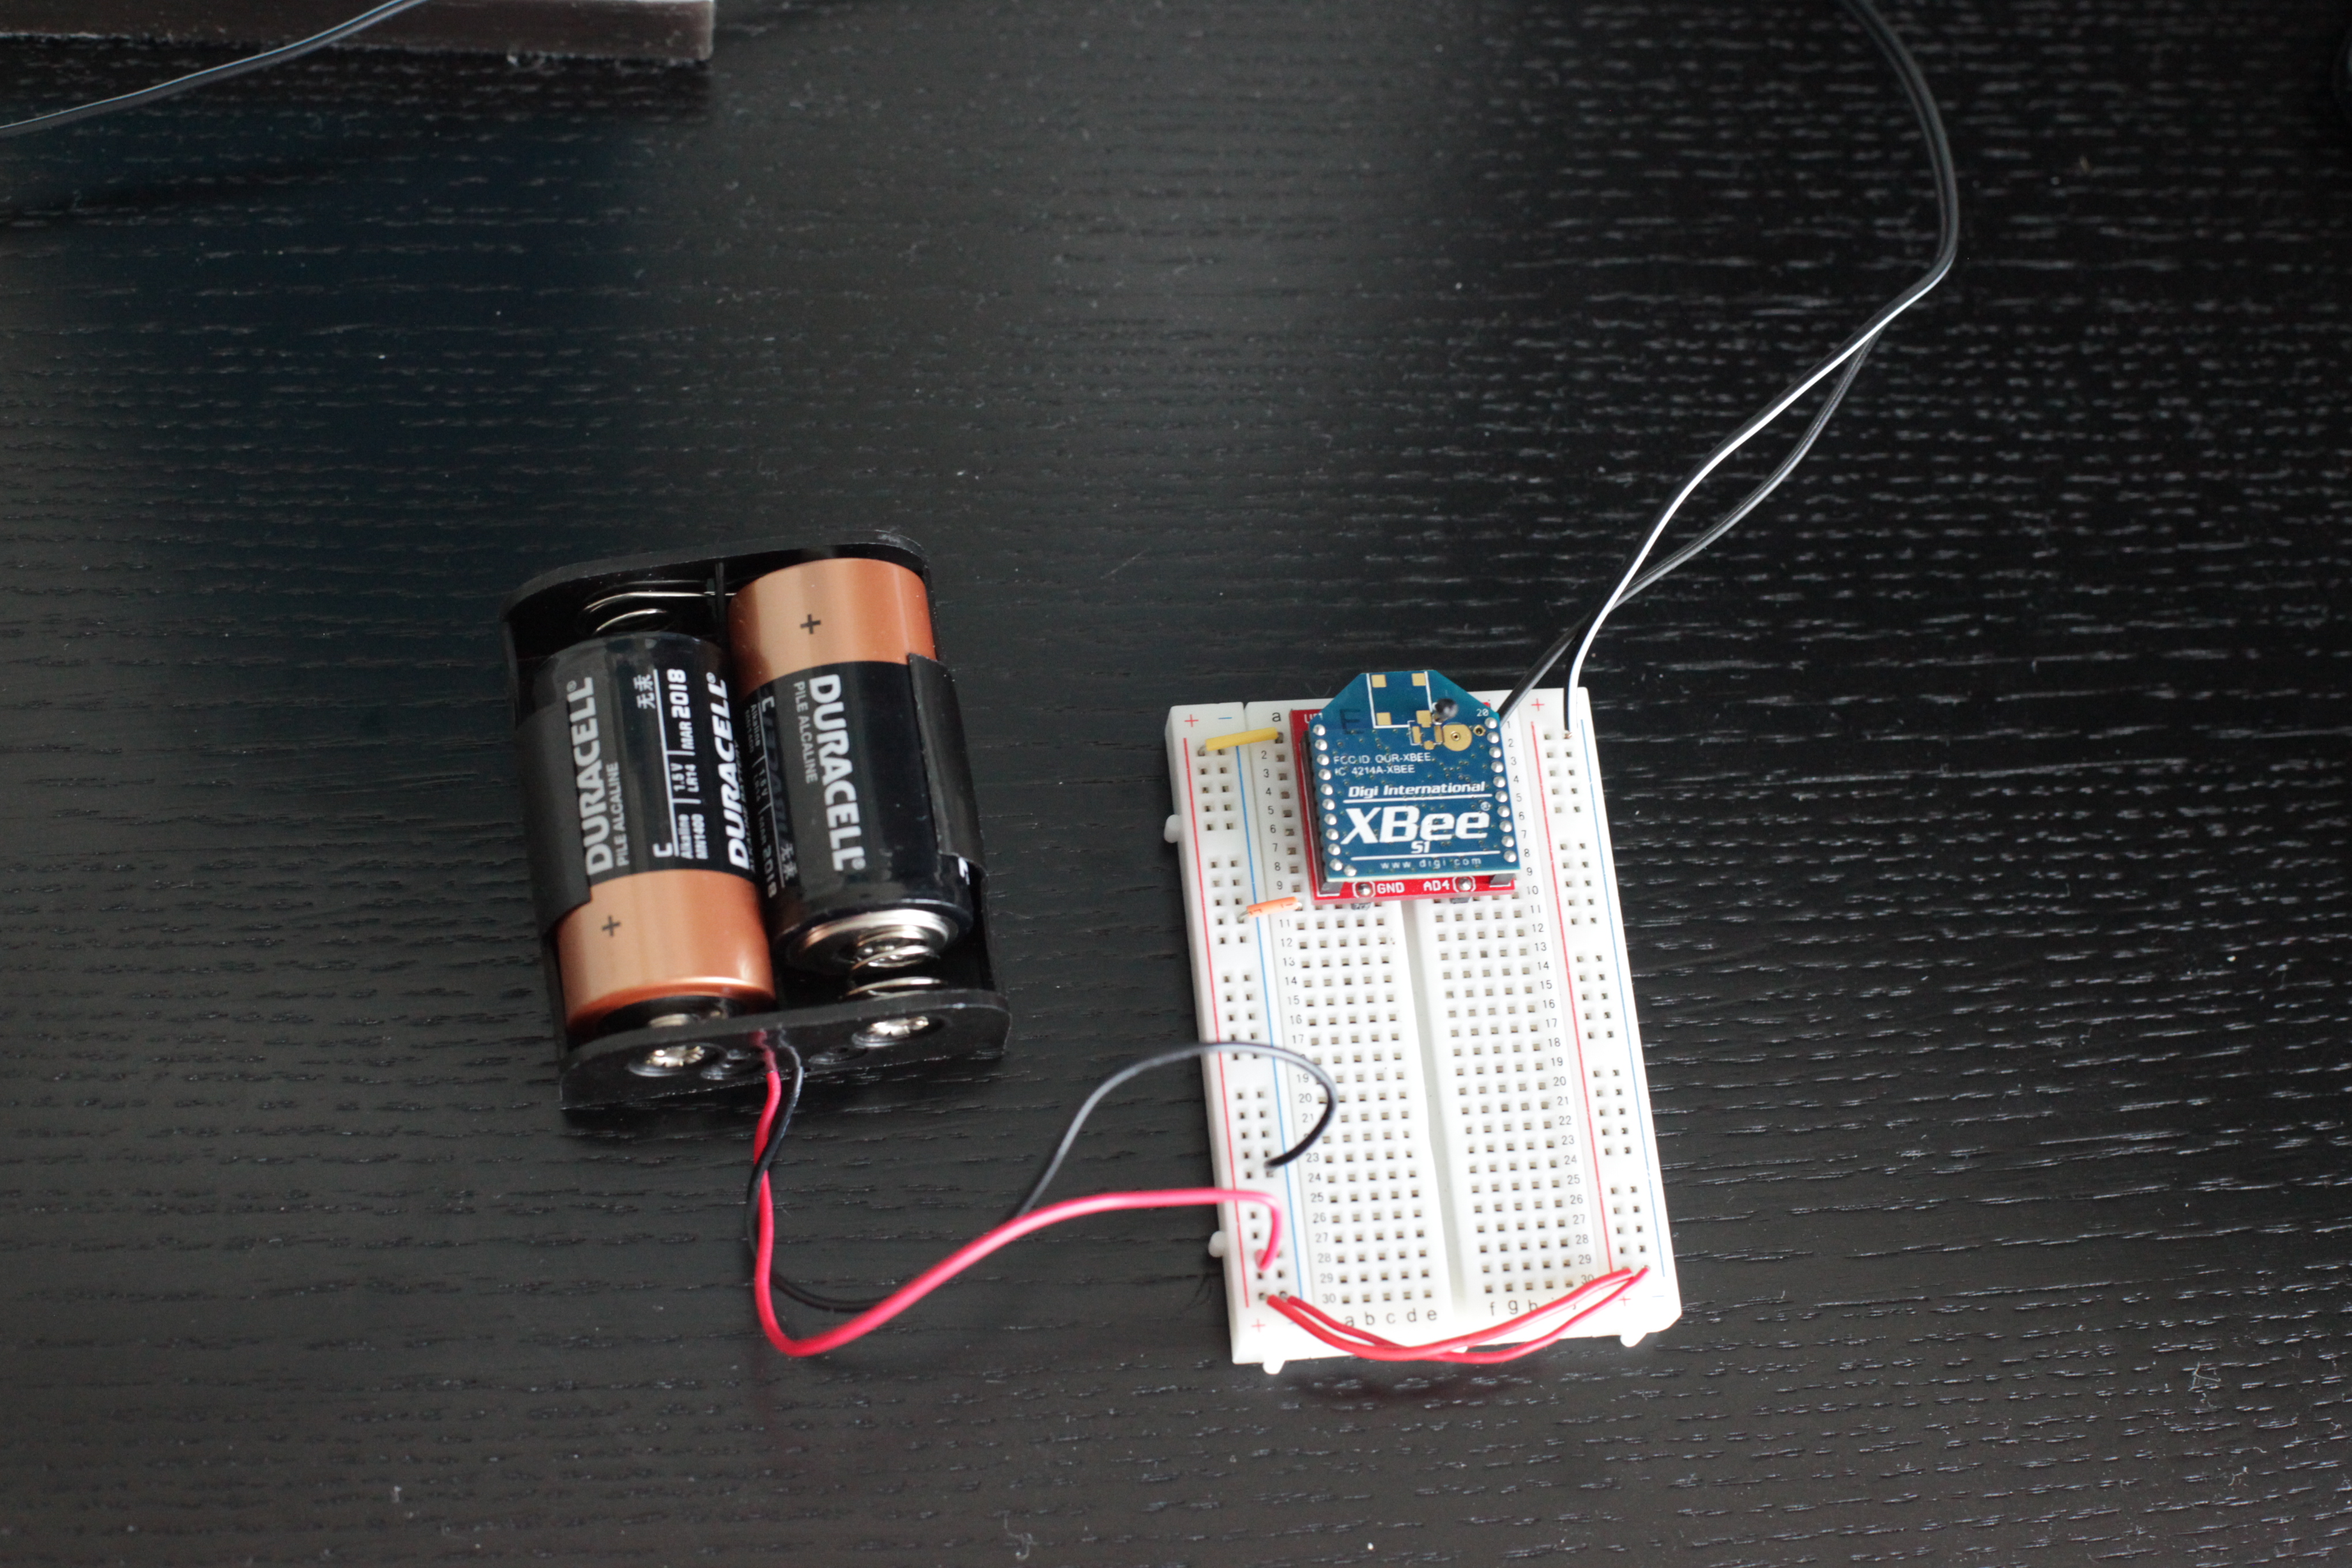
- Insert the XBee into the adapter and connect the battery pack. Since we set the I/O mode of the pin to be HIGH on start up with the command "ATD0 5", the PowerSwitch Tail will close the relay and turn the AC device on since there's no radio configured to transmit a low signal to our receiving radio. If you'd like the device to be turned off when the XBee is powered on, you can use the command "ATD0 4".
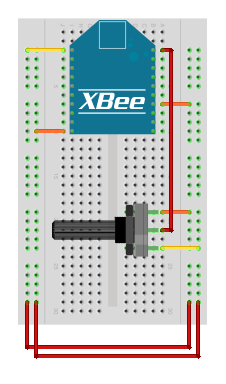
- Above is a diagram of the circuit. In the photos, we used C batteries. A pair of AA batteries, as shown in this diagram, will work fine.
5) Use it!
Now that you know how to connect a PowerSwitch Tail relay to the digital output of an XBee radio, take a look at our input tutorials for what can control your AC devices. Just be sure that the the transmitter's address is set as the receiver's I/O input address setting (ATIA). The video above shows the PowerSwitch Tail in use in Rob Faludi's Light Switch XBee project.