Introduction
If you have a known-good device configuration and firmware version, the Templates feature in Digi Remote Manager (DRM) lets you keep your entire deployed device inventory in sync with it automatically. Rather than manually checking each device or pushing configuration changes one at a time, a Template periodically scans a group of devices, compares them against a reference configuration, and, if enabled, automatically corrects any device that has drifted out of compliance.
Prerequisites
- A full, paid Digi Remote Manager license
Issue/Question
How can I ensure that my devices remain in compliance with the desired configuration and firmware version?
Solution
The Templates feature works as follows:
- A “Model Device” is chosen, and its current settings, firmware version, and files are imported into the Template as the reference configuration.
- A group of devices is associated with the Template. DRM scans every device in that group — on a schedule or on demand — to verify it matches the Template.
- If a device is out of compliance, an alert is raised. If the Remediation option is enabled, the device's firmware, settings, and files are automatically updated to match the Template.
- A single Template manages every device of the same model in the group, while the Site-Specific Settings option lets you override select values on a per-device basis without breaking overall compliance.
Below, a step-by-step guide on how to create and use a Template to keep devices in compliance:
Creating a Template
Templates are built using a guided, multi-step wizard, accessed from Templates → Create.
Step 1: Enter Template Details
Give the Template a descriptive name and optional description, then choose the Device Type and Firmware Version it will manage.

Step 2: Choose Components and a Model Device
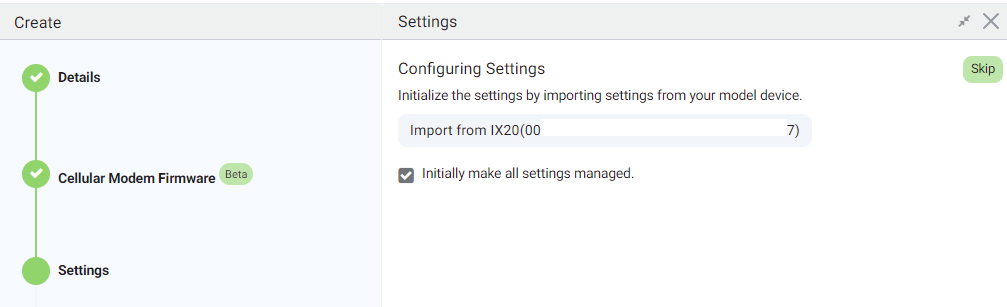
In this step, you can select which components the Template will manage: Cellular Modem Firmware, eSIM, File System, Settings, and Python. Turning on Settings requires selecting a Model Device: the currently configured device whose settings will be imported and used as the compliance baseline. This article focuses solely on configuration compliance, so only Settings is enabled here:
.png?lang=en-US)
Step 3: Configure Settings
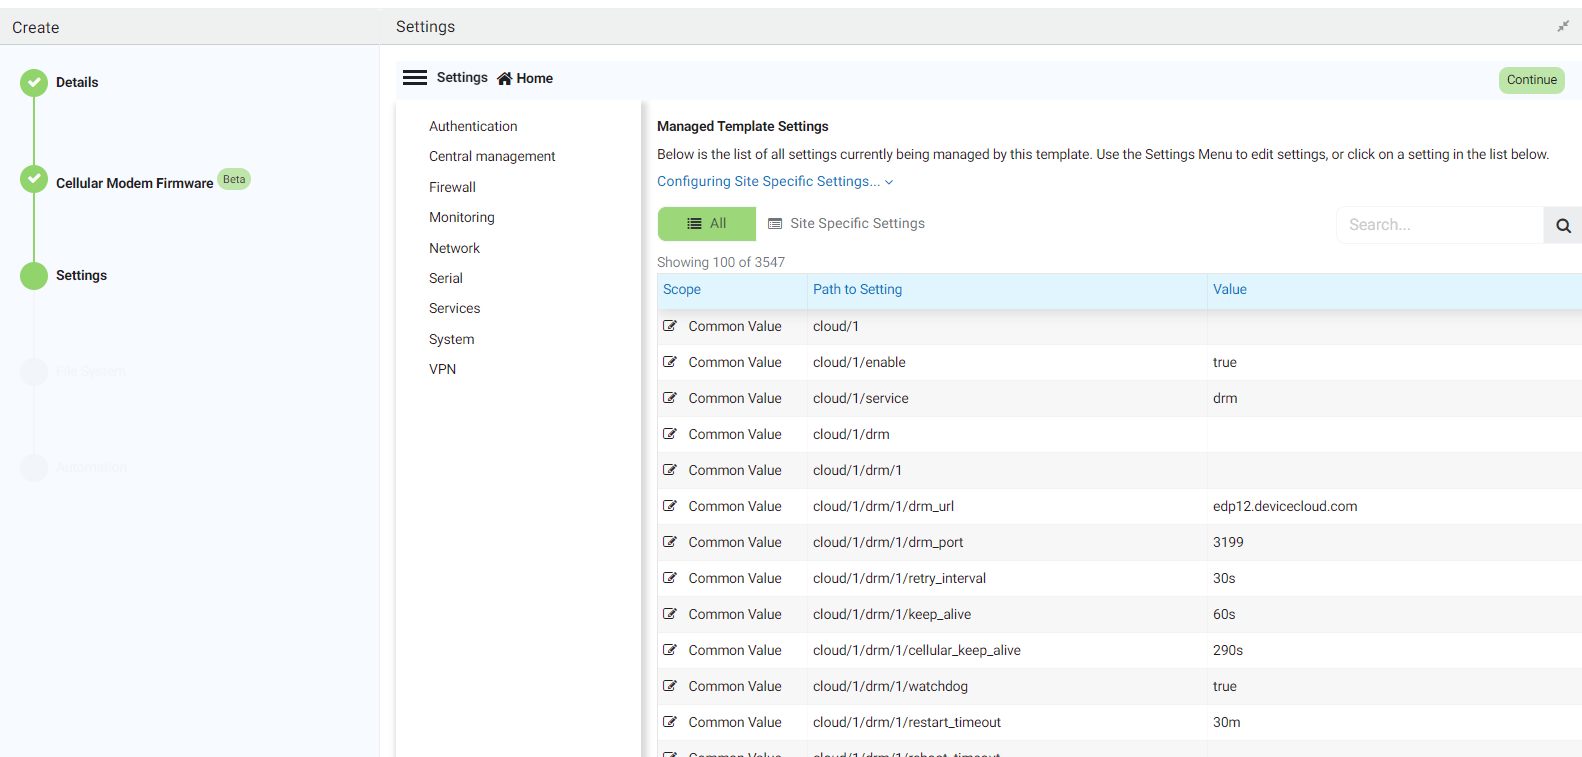
With Settings enabled, the wizard imports the Model Device's full configuration tree (Authentication, Firewall, Monitoring, Network, Serial, Services, System, VPN, etc.). By default, every imported setting is marked as Template Managed, meaning it is enforced on every device in the group. Each setting can instead be set as Device Specific, so individual devices can retain their own value, or simply unticked so that it is excluded from the Template altogether and not checked at all. This article focuses only on Template-managed settings, not on per-device (Device Specific) configuration.
.png?lang=en-US)
Step 4: Enable Device Remediation
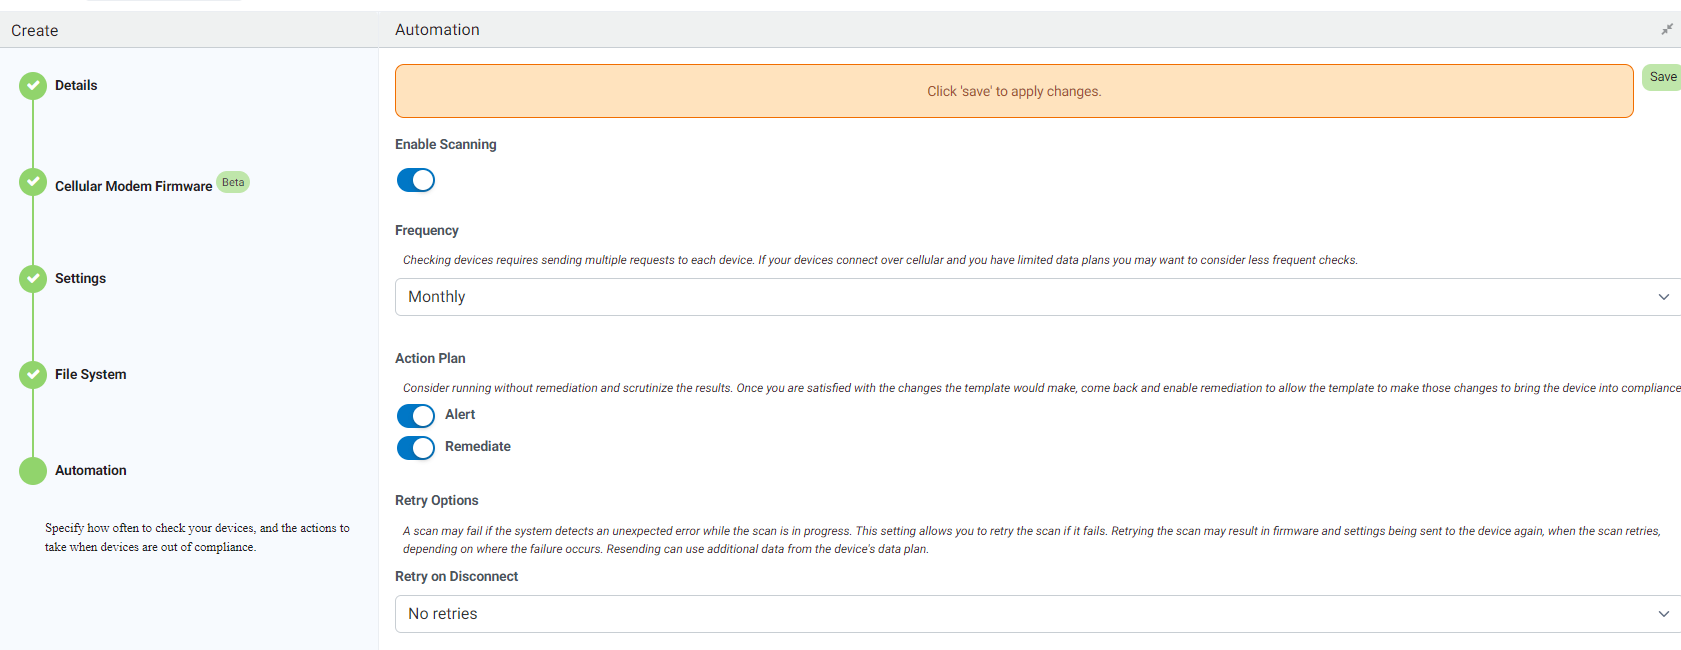
This step controls Device Remediation and Template Compliance, including whether out-of-compliance devices are automatically corrected, whether settings roll back if a device disconnects mid-update, whether the device reboots afterward, and whether a follow-up automation runs.
Note: Enabling Remediation is what allows the Template to actually correct devices. Leaving it off lets you scan and review compliance drift first, without DRM making any changes.

Step 5: Configure Scanning
The Scanning step sets how often devices are checked (for example, Monthly), whether a failed scan should automatically retry, and whether an automation should run before a scan starts or after it completes successfully.

Step 6: Assign Groups and Finalize
Finally, select the Group (or groups) of devices the Template will manage, review the full configuration summary, and click Save. Every device of the matching type in the selected group(s) will be scanned once the Template is enabled.

Enabling the Template
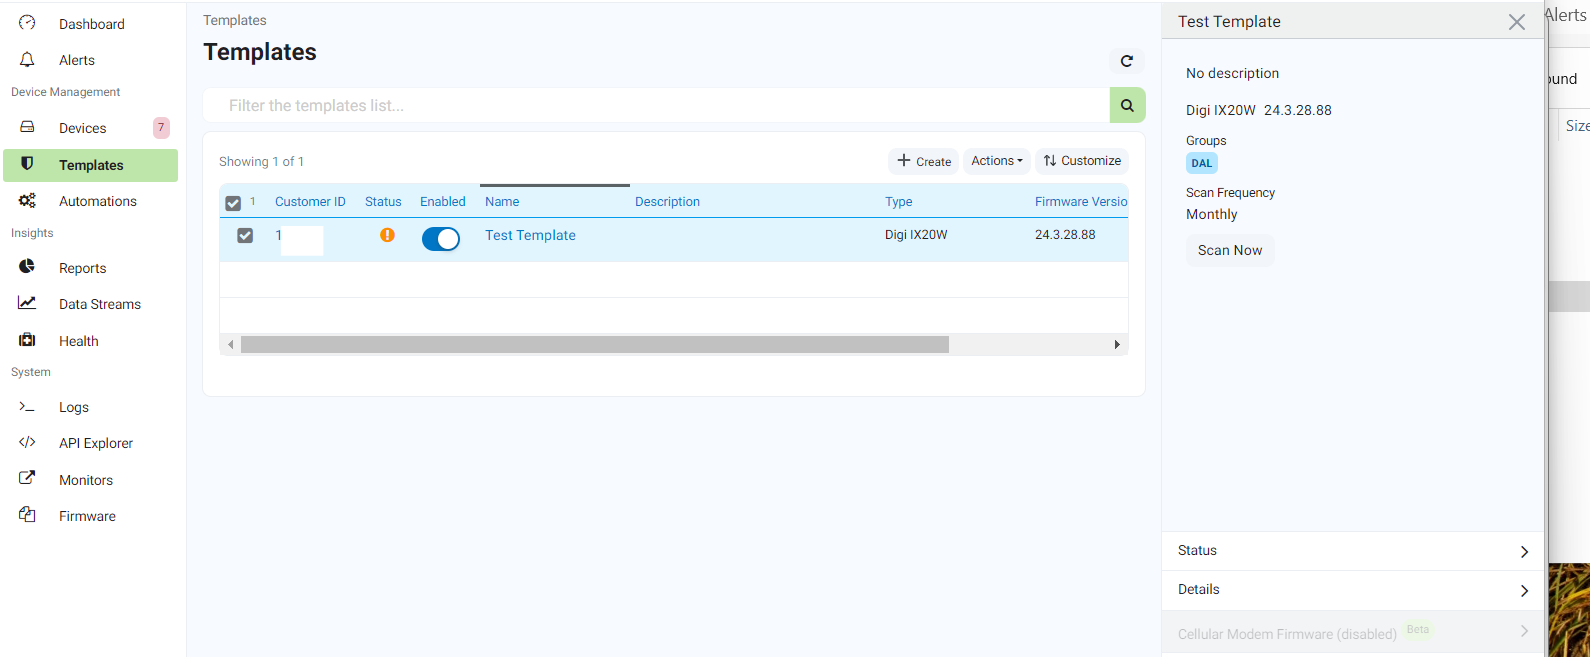
A new Template is created in a disabled state. From the Templates list, use the Enable toggle to turn scanning on for that Template. Once enabled, DRM immediately resets compliance tracking and begins scanning the associated group according to the schedule configured in Step 5.

Reviewing Scan Results and Compliance
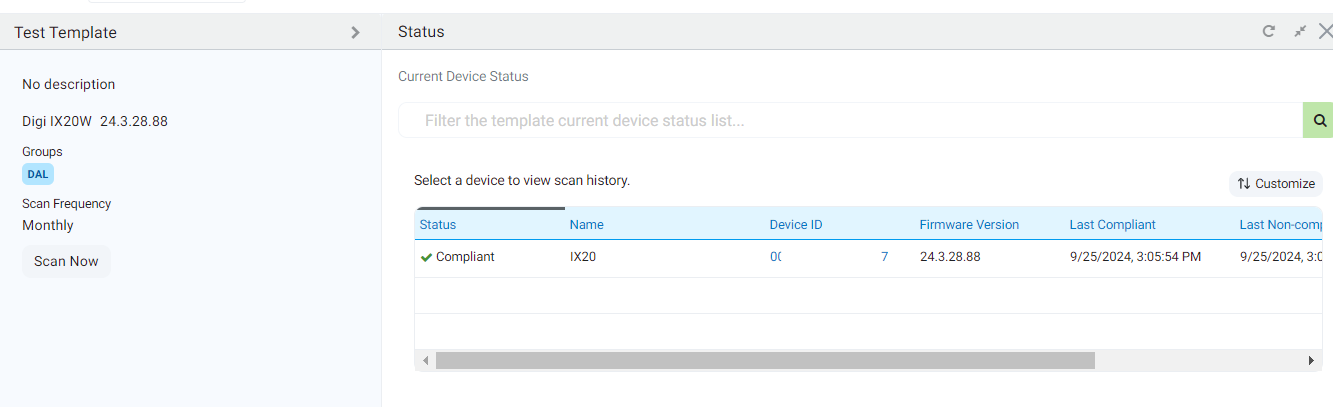
Once scanning is underway, results are available in two places: the Template's own Scan Results page, and the Alerts and History tab on each individual device.
Template Scan Results
The Scan Results tab on the Template shows the current status of every device it manages, along with a detailed Scan History for the selected device — including when settings were found noncompliant, which specific paths were out of sync, and whether remediation jobs succeeded or failed.

Device-Level History
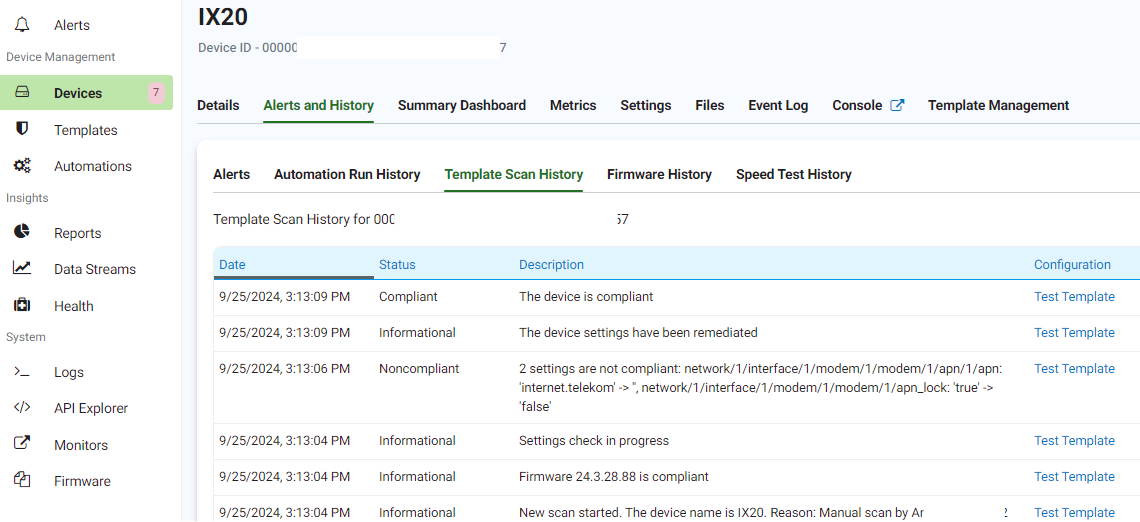
The same scan history is also available directly on the device, under Alerts and History → Template Scan History. This is useful when troubleshooting a specific device without needing to open the Template itself.

In both views, the scan result descriptions list the specific settings found non-compliant, along with the expected and actual values, making it easy to see exactly what drifted before remediation runs.
Further Information:
The new Digi Remote Manager Templates guide can be found here: Templates user guide
Last updated:
Sep 03, 2026